I used QR codes in the classroom for the first time last week. You might be asking: What took so long? Well, for one thing, the school where I used to work didn’t allow students or teachers to use cellphones in class. Now I’m no longer a classroom teacher so that complicates things in a different way.
TESOL Course about QR Codes
I am, however, volunteering in a class at a school near me. So when TESOL International Association offered a free 5-week online course about using QR codes, I jumped at the chance to learn all about it because I thought I might be able to design an activity for the teacher in whose career exploration/life skills elective class I help out in.
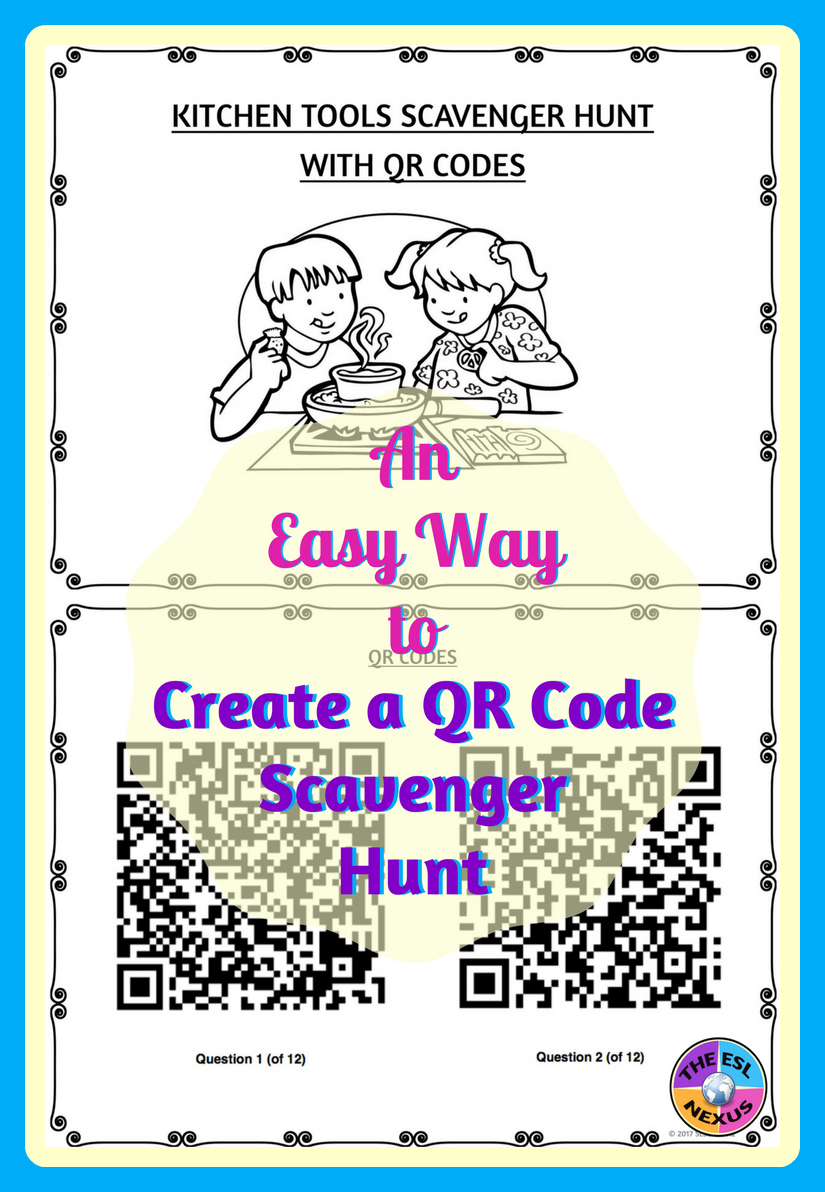 |
| Kitchen Tools Scavenger Hunt resource; source: The ESL Nexus |
But first let me give you some background about the course I took. TESOL International Association is a worldwide organization for educators who work with English Language Learners and it offers a variety of professional development opportunities for members. One of them is the Electronic Village Online, 5-week courses about using technology with ELLs. What’s great is that all courses are free. What’s even greater is that anyone can enroll in one of these courses – you don’t have to be a TESOL member to participate! If you want to sign up for their newsletter, which I’m assuming is how non-TESOL members will be informed of the 2018 sessions, just click here.
Creating a QR Code Scavenger Hunt
So I learned about lots of tools used to create and read the QR codes as well as about various ways to use QR codes in lessons. After learning how to create a scavenger hunt, I decided to make one for the teacher I worked with. Students were always asking where to find various items when they were cooking and they didn’t know what some things were – like colanders – so the teacher and I thought a scavenger hunt would be a great way for the kids to learn these things. When I told her about the course I was taking, she really liked the idea of using QR codes and incorporating a tech component into the activity. She had never used QR codes before, either.
As recommended in the TESOL course, I used the ClassTools.net QR Treasure Hunt Generator to make my scavenger hunt. The site takes you step by step through the process of creating a scavenger hunt so it was really easy. I had a list of 11 items that the teacher wanted the kids to become familiar with – things like a sifter, a cooling rack, a double boiler, a candy thermometer, a chef’s knife, and so on. The goals were to be able to identify each tool and to state where in the kitchen area of the classroom they were located.
Each question was followed the same format: What is _________ and where is it located? Then I added a 12th question asking what to do after you finish cooking. (Answer: Clean up!) After you finish typing in the questions and answers and have created a password, you click a button at the bottom of the screen that says Create the QR Challenge and that takes you to another page with a link where you can access your scavenger hunt.
To check that the questions and answers you typed came out the way you want, you click on the link that the red arrow points to, View the questions. If you need to edit the questions or answers, click on the link the yellow arrow points to, Edit this quiz. When you are satisfied with how everything looks, then you can click on the Get the QR Code for each question! link that the orange arrow is pointing to.
When you click on that, you’ll be taken to another page that shows one QR code for each question you typed.
You can find the answers by clicking on the link the red arrow is pointing to. (I just googled the names of the items to find their purpose; since I didn’t know where everything was kept in the classroom, I left that part empty.)
Then I compiled all the materials into a nice resource for the classroom teacher so she could look it over at her convenience. I typed up instructions on what to do before the class – ensure one student per group had a smartphone with a QR Code reader, print out the QR codes and place them around the room, and print out answer sheets for students to record their responses to the questions. I made 2 versions of the answer sheets, one had photos of each kitchen tool and the other didn’t.
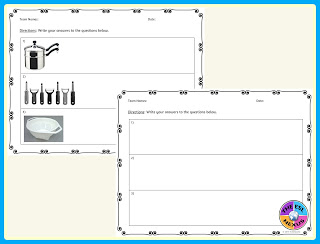 |
| Sample answer sheets for students; source: The ESL Nexus |
Implementing the QR Code Scavenger Hunt
When we implemented the lesson, the students were in their regular small groups and the 12 QR codes were placed throughout the kitchen area. Each group got one set of the answer sheets without images of the items. The teacher explained the directions and made sure the kids had a QR reader on the phones that would be used. Then off they went. They had about 35 minutes to complete the activity. The groups got stumped on a couple items because although the teacher wanted them to know what they were, they weren’t actually available in the kitchen. So we resorted to showing the students the photos of the items.
Next time, we’ll be sure to use the answer sheets with the photos. Another minor issue, for me anyway, was getting students to write detailed answers. That is, in response to the question about a cooling rack, some groups wrote things like: It’s a rack to cool things. Well that just wasn’t good enough for me! So I asked the students to be more specific and to explain why that needed to be done.
All the groups finished in plenty of time and had their answers checked by me or their teacher. Some students took the activity seriously and put a good effort into it whereas others were less invested in it. Because there was still some time left in the period, I asked each student to give some feedback by writing 1-2 sentences on the back of their answer sheets. Their comments were very interesting! Some students thought it was hard and others thought it was boring. A couple students said they would have liked it more if it had been outside. There were also some positive comments: one student said she liked the fact that using phones was part of the activity, another student said it was helpful, and a third student said she hoped they could do more activities like this again. The most useful comment was that it would’ve been better if not all the questions were the same – that is something I will definitely keep in mind the next time I design a QR code scavenger hunt.
All in all, both I and the classroom teacher were pleased with how the activity went. Now I am trying to think of more topics for QR code scavenger hunts! If you have ever created this kind of activity, I’d love to hear about it in the Comments section below.
April 10, 2017


